Search results
redTest.png dp_adminimage/png131.68 KB
dp_adminimage/png131.68 KB
pinkTest.png dp_adminimage/png55.62 KB
dp_adminimage/png55.62 KB
61nniOIY0iL.jpeg Kirstinimage/jpeg58.86 KB
Kirstinimage/jpeg58.86 KB
view-admiralty-screen-whitehall-adam-vol-35-4-blog.jpg ltilleyimage/jpeg112.64 KB
ltilleyimage/jpeg112.64 KB
Clients_4.png dp_adminimage/png354.53 KB
dp_adminimage/png354.53 KB
haddonstone-caryatid.jpg Kirstinimage/jpeg21.88 KB
Kirstinimage/jpeg21.88 KB
haddonstone-caryatid-_closeup-1.jpg Kirstinimage/jpeg43.75 KB
Kirstinimage/jpeg43.75 KB
haddonstone-caryatid-_closeup-2.jpg Kirstinimage/jpeg48.49 KB
Kirstinimage/jpeg48.49 KB
haddonstone-caryatid2.jpg Kirstinimage/jpeg52.72 KB
Kirstinimage/jpeg52.72 KB
haddonstone-hercules-bust.jpg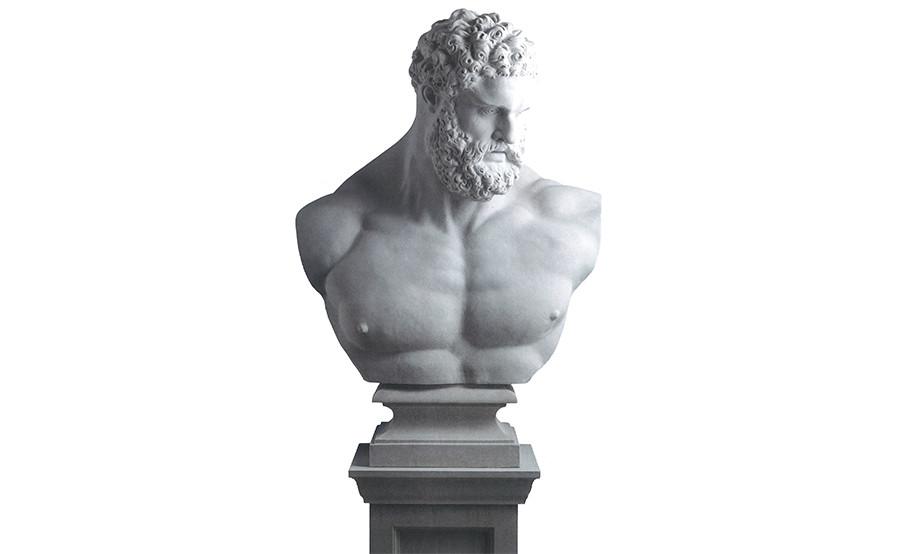 Kirstinimage/jpeg23.82 KB
Kirstinimage/jpeg23.82 KB